Configuration
Configuring the Buckaroo plugin for Magento 2
A Buckaroo account is required to do test or live transactions with the Buckaroo plugin for Magento 2. Below you can find the configuration steps:
1. Go to the Buckaroo plugin in Magento 2
- Sign in to your Magento 2 backend.
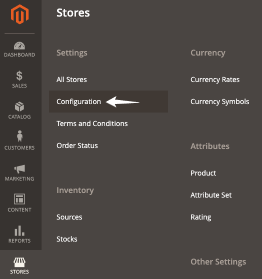
- Go to Stores → Configuration in the left main menu.
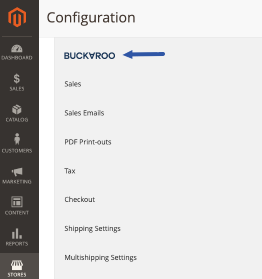
- Within the next submenu, go to → Sales and select the Buckaroo logo to access the plugin settings.
2. Go to the settings
- Within the next submenu, go to → Sales and select the Buckaroo logo to access the plugin settings.
3. Fill in the settings below
3.1 Credentials
Enabled
- This setting lets you control the Buckaroo plugin mode, enabling or disabling the plugin.
Secret key
- Enter your Buckaroo Secret Key.
- This key is unique for your entire Buckaroo account.
- You can also find it in the Buckaroo Plaza at Settings → API Keys.

Merchant key / Store key
- Enter your Buckaroo Store Key (Previously this was also known as the Merchant key).
- This key is unique for each store, allowing you to track transactions per store.
- You can find it in the Buckaroo Plaza → Settings → API Keys.

Guid
- Enter your Buckaroo Guid when you want to offer the payment method Apple Pay.
- This key is unique for your entire Buckaroo account.
- You can find the Guid in the Buckaroo Plaza → My Buckaroo → General.

Transaction label
- Enter a transaction description so that your customers will recognize the payment on their bank statement.
- We advise to use a value that contains for example the webshop name for better recognition.
- You can use our static tags like:

Invoice handling
- Choose when the invoice should be generated.
- Options: upon successful payment or when creating a shipment.
Save config
- Before proceeding with the certificate (label), please save the configuration by pressing the "Save Config" button.

Certificate label
- Assign a name to the certificate that will be uploaded in the next step, such as "Buckaroo" or your Buckaroo account name.

Upload your Buckaroo private key certificate
- Generate a certificate in the Buckaroo Plaza at Settings → Certificates.
- Create the certificate using the Actions button on the page.
- Save the file properly for future reference.
- Upload it in the Certificate Management tab in your Magento backend.
Certificate file
- Select the certificate file here, it should contain the name that was previously chosen at the step "Certificate label".
- Save the configuration again so the certificate is selected and active.
3.2 Advanced configuration
WarningThese settings are intended only for advanced users. Modifying the default configuration may disrupt workflows and reduce the performance of Buckaroo payment methods. Proceed with caution—changes are made entirely at your own risk.
Advanced Settings Examples
- Modifying payment statuses
- Adjusting redirect URLs
- Various debugging settings
- Enabling the "Keep Cart Alive" mode (restores the cart when a consumer uses the back button in the browser)
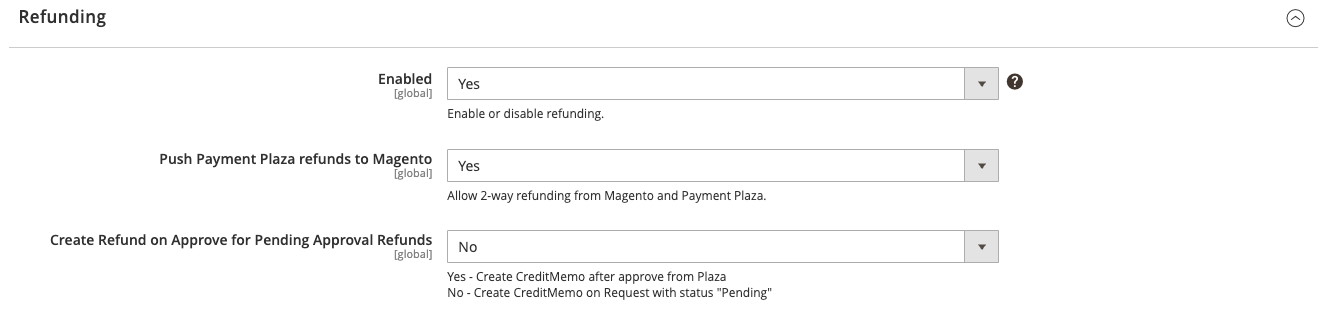
4. Refunding
Navigate to the Refunding tab to configure the handling of refunds.
Refund Settings:
- Enabled: Determines whether refunds should be sent from Magento to Buckaroo.
- Accept Payment Plaza Refunds in Magento: Determines how manual refunds initiated from the Buckaroo Plaza should be managed.
- If Magento is solely used for stock management and no monetary refunds need to be processed, disable this option.
- If only monetary refunds are required and Magento is primarily used as a stock system, manual refunds from Buckaroo should be ignored.
- In most scenarios, enable both functions to ensure close alignment between the two systems.
See which payment options you can offer trough the Buckaroo Magento 2 plugin.
Boost functionality with additional Buckaroo modules for Magento 2.
Answers to common questions about using Buckaroo with Magento 2.
Overview of how Buckaroo manages versioning and where you can find the latest releases.