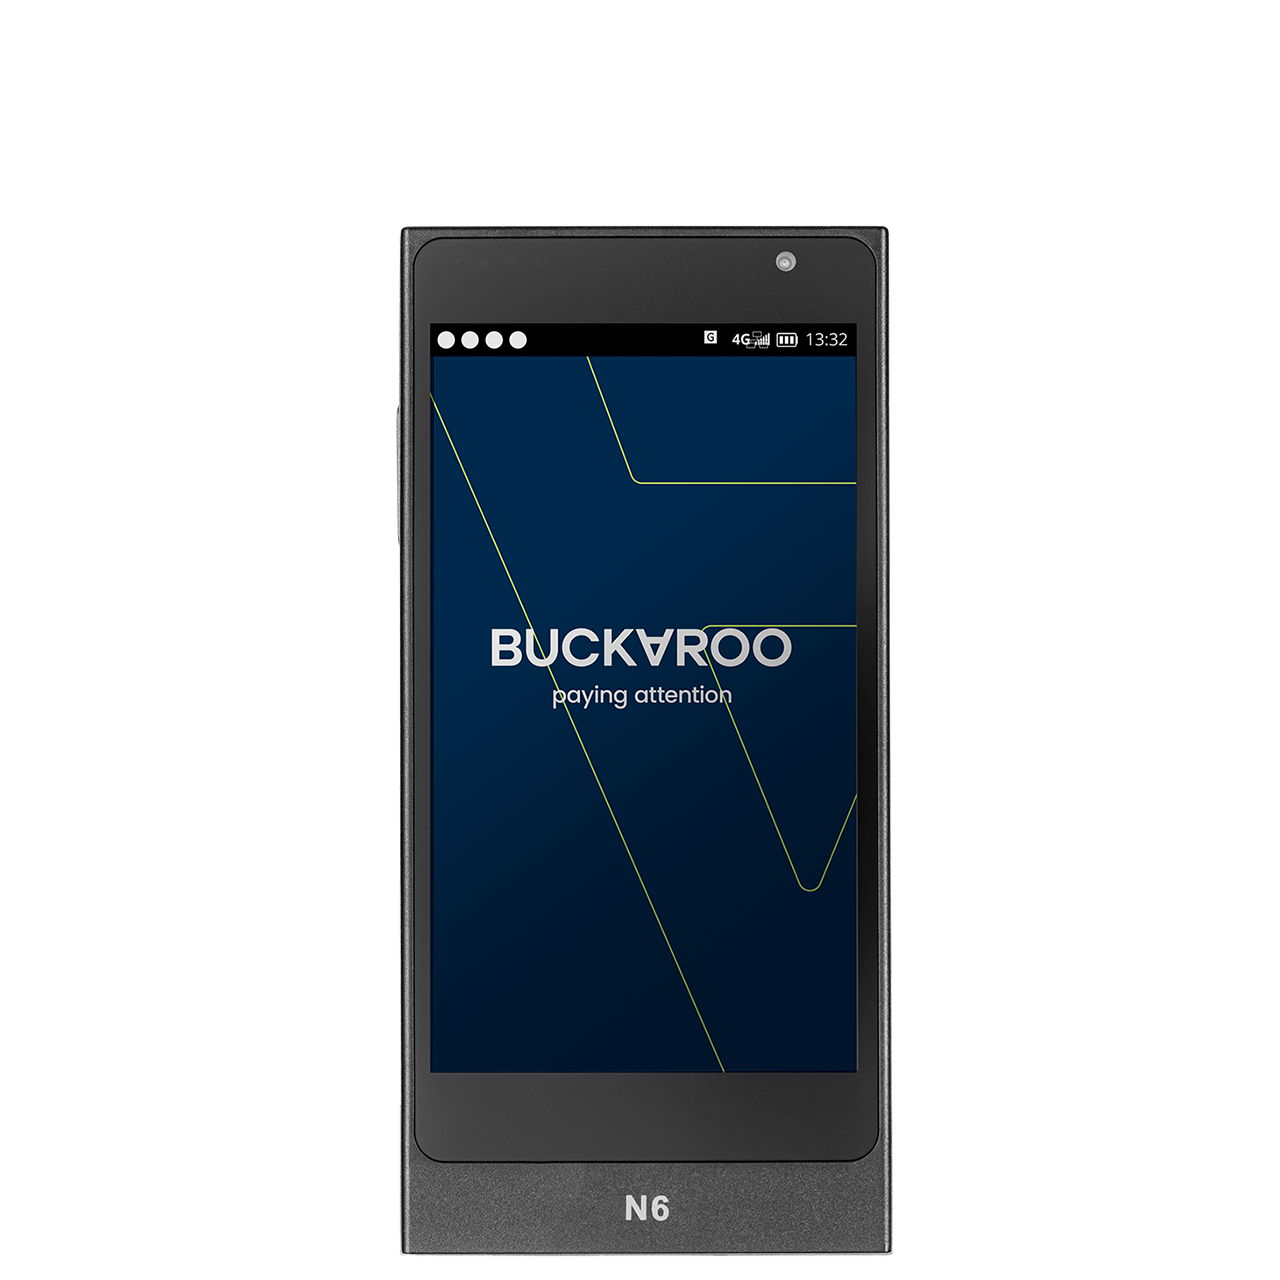
Buck Smart
Click here to access the Dutch installation guide for the Buck Smart
The Buck Smart terminal offers a range of smart features to enhance the payment experience for both businesses and customers.
Display Information
- Time
- WiFi network and signal strength
- Mobile network and signal strength
- Battery indicator
- Power button
- Printer cover
- Indicator lights for contactless payment
- NFC chip (not visible)
- Chip reader
- Magnetic stripe reader
- USB-C port (charging)
- Payment button
- Menu button

Installation Buck Smart:
- Unbox the terminal:
- Take the terminal out of the box.
- Ensure all items are included (terminal, charger with adapter).
- Power on:
- Press and hold the power button on the left side of the terminal for five seconds and release. Once fully started, the terminal will automatically enter the payment application.
- Perform a test transaction:
- Press the payment button.
- Enter the amount of €0.01.
- Confirm the amount with the green button.
- Present a card (contactless or chip with PIN).
- Upon successful transaction, the terminal will display AKKOORD and offer a digital receipt via a QR code.
Charging
- The terminal can be charged with the included USB-C cable.
SIM Card
Comes with an activated SIM card for mobile network access.
Connecting to WiFi
- Go to the main screen and press SETTINGS.
- Select Network & Internet.
- Turn on Wi-Fi (if needed).
- Choose the Wi-Fi network and enter the password.
- The terminal is now connected to Wi-Fi.
Main menu access
Press the MENU button from the main screen. Options include:
- Payment
- Refund
- Receipt Copy
- Reporting
- Settings
- Technical Menu
Payment process
- Press the MENU button and select Payment, or press the Payment button.
- Enter the amount using the numeric keys.
- Confirm the amount by pressing the OK button.
- Follow on-screen instructions for card insertion or contactless payment.
- Complete the transaction and print the receipt.
Refund process
NoteThis payment terminal is suitable for refund PINs. Separate terms and conditions apply to the use of this feature. Would you like to use this function? Then please contact our helpdesk first.
- Press the MENU button and select Refund.
- Enter the password and confirm.
- Enter the refund amount and confirm.
- Follow the payment process for refunds.
Receipt copy
- Press the MENU button and select Copy Receipt to print the last approved transaction.
TipNot sure if a transaction went through? Use the copy receipt function. This displays and/or prints the most recent transaction approved
Reporting
Accessing Reports
- On the main screen, press the MENU button.
- Select REPORTING to print a report or daily statement.
X-TOTALS
- Press X-TOTALS to print a report.
- Choose between COMPACT or EXPANDED.
- This report is similar to the Z-TOTALS report but includes the text STILL OPEN at the bottom.
- The period is not closed, and the counts and amounts are carried over.
Z-TOTALS
- Press Z-TOTALS to print a daily statement.
- Choose between COMPACT or EXPANDED.
- The terminal prints a report showing the total amount that has been processed since the last Z report.
- The text TOTALS RESET appears at the bottom along with the time the period ended.
Language selection
- On the main screen, press the MENU button.
- Select SETTINGS.
- Press LANGUAGE SELECTION.
- Choose the desired language.
- Confirm to return to the main screen.
Login option
The login option is used to link payment transactions to individuals or groups. This can be enabled in "My Buckaroo."
- Click the icon of the terminal where you want to activate this feature.
- In the same menu, you will also find the FIXED AMOUNT option. This will be discussed later.
- On the main screen, press the MENU button.
- Select SETTINGS and then LOGIN.
- Log in with your code/name and confirm with the GREEN OK BUTTON.
- Each payment will be registered under your code/name.
- These details can be found in "My SEPAY" in the transaction overview under CUSTOMER REF.
Setting a default amount
This feature is useful for situations where a constant amount is frequently charged, such as for using a restroom, parking at events, or paying for access. To use this feature, you must first activate it on your personal page (My SEPAY) and then update your terminal.
- On the main screen, press the MENU button.
- Select SETTINGS.
- Press DEFAULT AMOUNT.
- Enter the amount (in cents). Confirm with the GREEN OK BUTTON.
Paying with a fixed amount
Once the fixed amount is set, start a payment by pressing the PAY button on the main screen. The set amount will be displayed, and you can proceed with the payment.
Paying with a different amount
This option is available only when ALLOW DIFFERENT AMOUNT is enabled in "My SEPAY."
- On the main screen, press the MENU button.
- Select PAYMENT.
- Enter a different amount (in cents) and confirm with the GREEN OK BUTTON.
- Follow the regular payment method.
Updated 4 months ago