FAQ
Below you can find all the frequently asked questions regarding the Buckaroo extension for Shopware 6:
How do I make TEST payments using the Buckaroo Shopware 6 plugin?
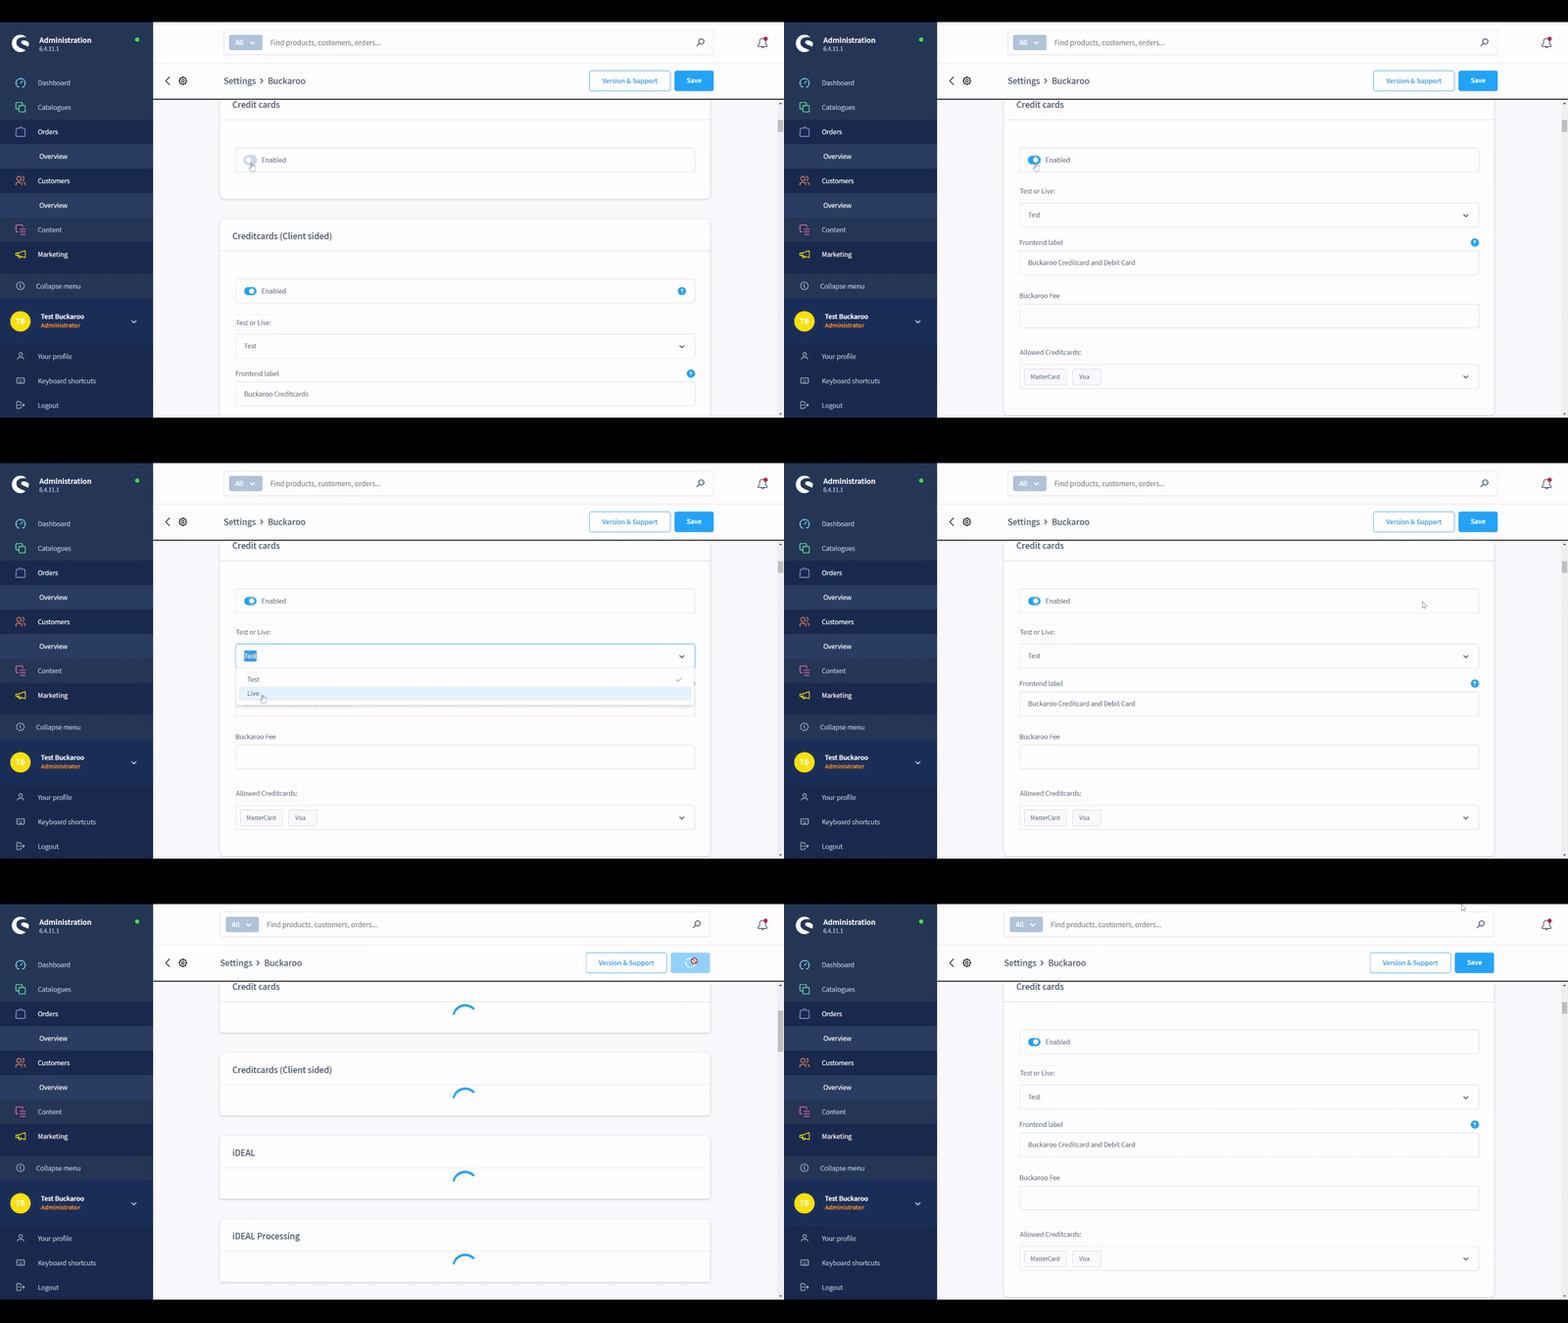
To perform test transactions, set the "Test" or "Live" setting to "Test." All enabled payment methods will then process transactions as test transactions. The test flow varies per payment method. We recommend using "Test" mode only if your webshop is not yet live and is solely for testing purposes.

How do I make LIVE payments using the Buckaroo Shopware 6 plugin?
To perform live transactions, set the "Live" or "Test" setting to "Live." All enabled payment methods will then process transactions as live transactions.

How do I enable and disable payment methods in the Buckaroo Shopware 6 plugin?
To enable or disable payment methods:
- Access Plugin Configuration:
- Go to your Shopware backend → Extensions → My Extensions → Buckaroo.
- Toggle Payment Methods:
- Use the slider to activate or deactivate payment methods.
- Enabled (blue): The payment method is active and visible in the checkout.
- Disabled (grey): The payment method is inactive and not visible in the checkout.
How do I change the Buckaroo payment method name in the Shopware 6 checkout?
To change the payment method name:
- Access Plugin Configuration:
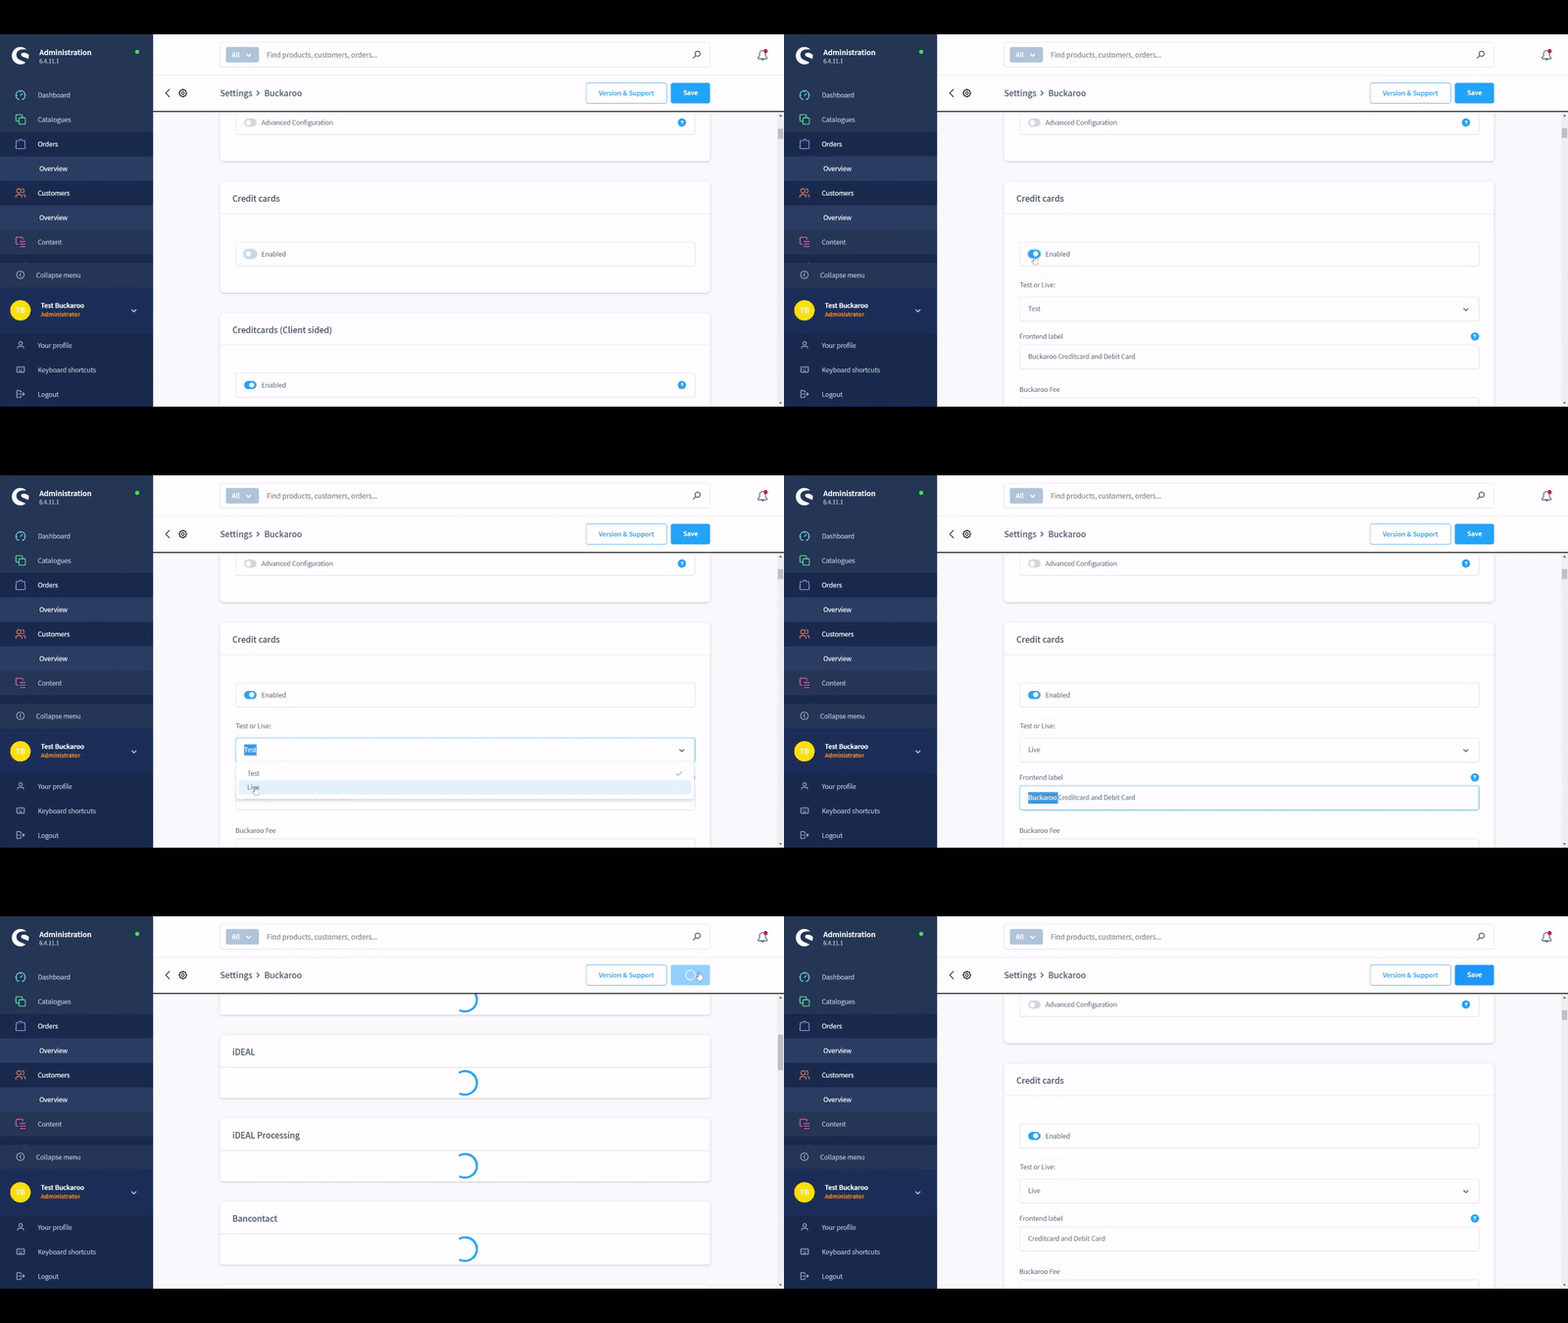
Go to the Buckaroo plugin configuration. 2. Edit Frontend Label:
- Locate the field named "Frontend label."
- Change the name to the desired payment method name as it will appear during checkout.
What payment methods are supported in the Shopware 6 plugin from Buckaroo?
For a list of supported payment methods for our Shopware 6 plugin, please visit our payment methods page.
Updated 5 months ago