

Installation
Install the Buckaroo plugin from the WordPress plugin directory, then verify it before you configure anything.
Before you begin
You need:
- A Buckaroo account. Request one here if you don't have one. You can install and test the plugin while your application is being reviewed.
- WooCommerce, installed and activated. The plugin extends WooCommerce rather than WordPress on its own, so WordPress alone is not enough.
- A supported WordPress, WooCommerce and PHP version. The current combinations are listed on the repository, with each release, and on the WordPress plugin page.
- Administrator access to your WordPress admin.
Install on a staging site first and take a backup of your database and files before installing or upgrading on production.
Install
The quickest route is straight from the WordPress plugin directory.
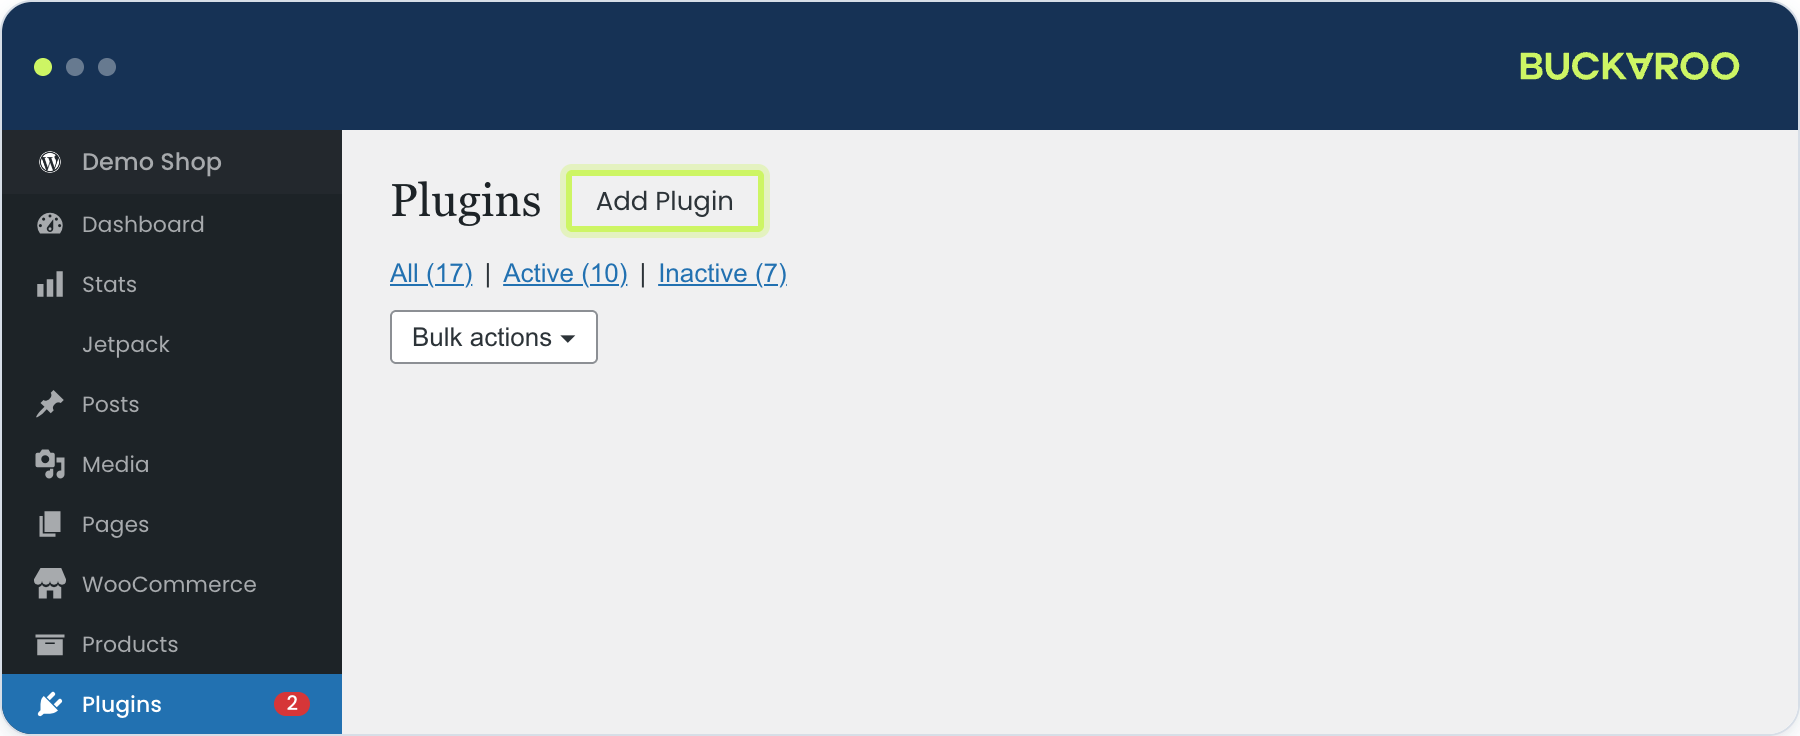
- Sign in to your WordPress admin and go to Plugins → Add new.
- Search for Buckaroo and open the Buckaroo WooCommerce Payments Plugin.
- Select Install now, then Activate.
- Buckaroo now appears in the WooCommerce settings.
Install from a .zip file
If you need a specific version, or your host doesn't allow installing from the directory:
- Download the .zip for the version you want from the releases page.
- Go to Plugins → Add new → Upload plugin and select the file.
- Select Activate next to the Buckaroo plugin.
Verify the installation
Go to WooCommerce → Settings → Buckaroo Settings. You should see five sections: General Settings, Payment Methods, Verification Settings, Advanced Settings and Reports.
Every Buckaroo payment method also appears under WooCommerce → Settings → Payments, listed individually.
Upgrade
Update regularly. New payment methods, scheme-mandated changes and security fixes all arrive through releases.
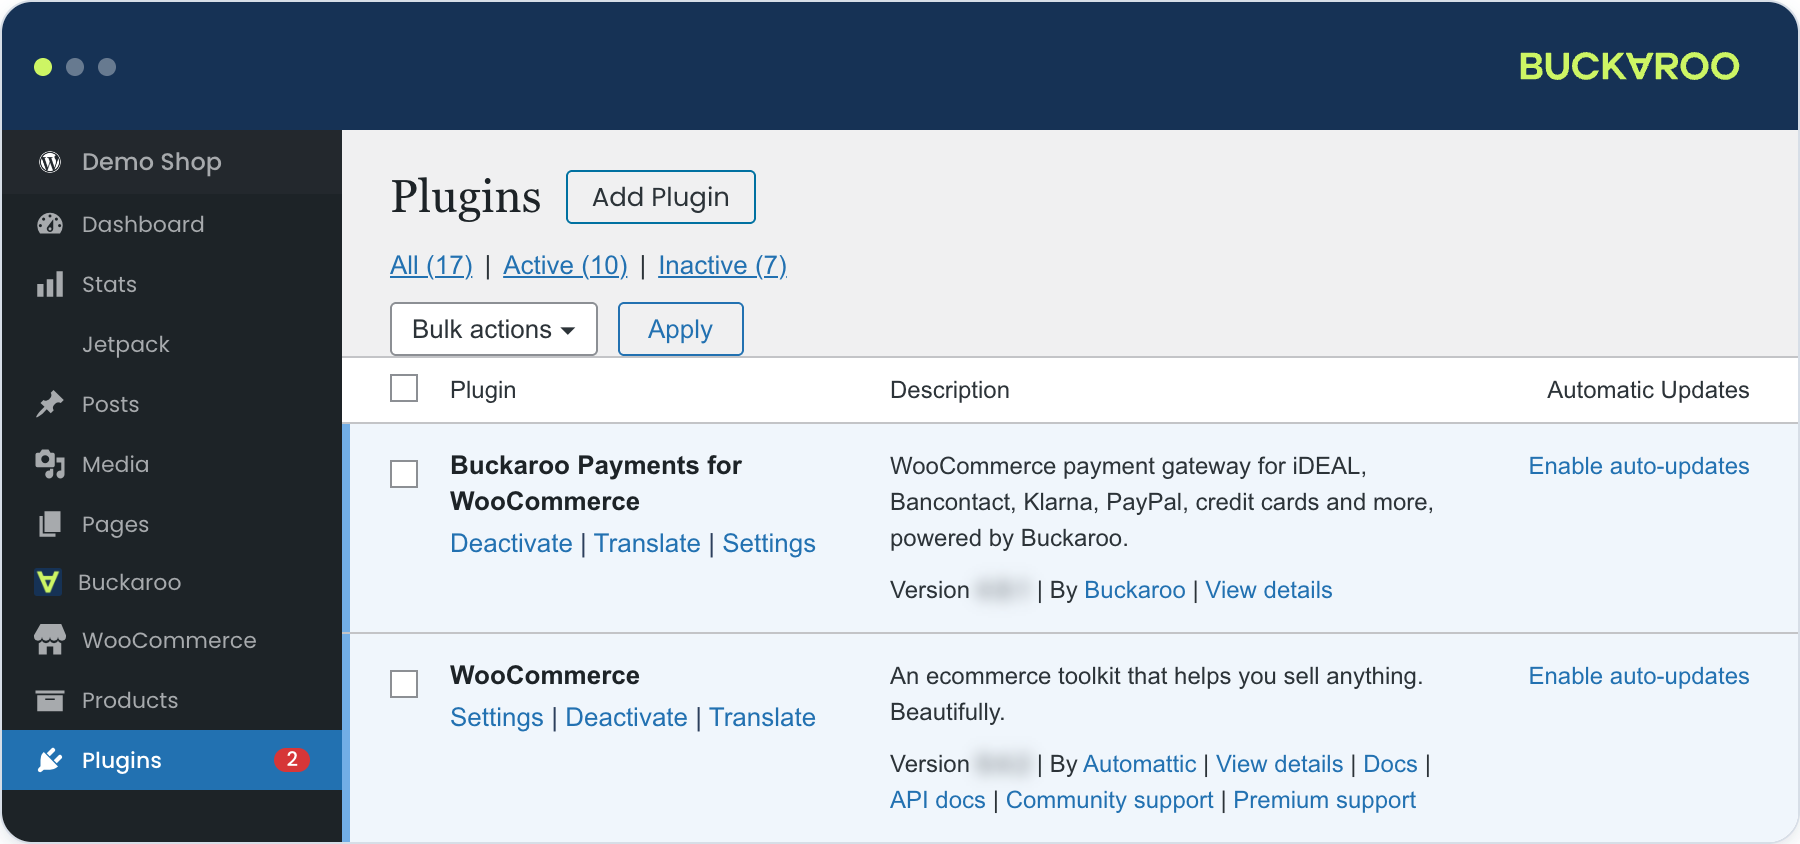
WordPress notifies you when a new version is available. Go to Plugins and select Update now on the Buckaroo plugin, or switch on automatic updates.
Read the release notes before upgrading, especially across a major version. Your settings and credentials are preserved. See Releases and upgrading.
Checkout and order storage
The plugin works with both of WooCommerce's checkout implementations and with its newer order storage, and declares that compatibility to WooCommerce itself. There is nothing to configure, but it's worth knowing what applies to your store.
Block and classic checkout
Both are supported. The plugin declares compatibility with the Cart & Checkout Blocks feature, so WooCommerce does not list it as an incompatible extension and you won't see the Site Editor notice suggesting you switch back to the classic checkout.
Buckaroo methods render as block payment methods in the block checkout and as classic gateways in the classic checkout. Express checkout buttons work in both.
If another plugin on your site is not block-compatible, WooCommerce may still show that notice.
It refers to that plugin, not to Buckaroo.
High-Performance Order Storage
Supported. The plugin stores its order data through the WooCommerce order API rather than writing post meta directly, so it works whether your store uses the legacy post tables or HPOS.
If you switch an existing store to HPOS, the plugin copies its older order data across automatically in the background. You don't need to run anything by hand.
Server configuration
Firewall and IP allowlisting
Buckaroo sends push messages to your store to confirm payment results. If a firewall, WAF or IP allowlist blocks them, payments will succeed at Buckaroo while your orders sit on hold.
Allow inbound traffic from Buckaroo's push addresses and ports. See Push messages for the current list.
You don't need to configure a push URL: the plugin sends it with each transaction. You do need push messages switched on for your store in Plaza. There is more on both in Connect your Buckaroo account.
Staging sites behind basic authentication will also reject pushes.
Caching
Exclude the checkout and cart pages from full-page caching, as WooCommerce itself requires. A cached checkout breaks payment method selection and the express buttons regardless of which gateway you use.
Character encoding
Push messages are sent as UTF-8. If your PHP default_charset is set to something else, the plugin shows a warning on its settings page, because a mismatch can corrupt incoming push data. Set default_charset = "UTF-8" in php.ini, and add AddDefaultCharset UTF-8 to your .htaccess if you use Apache.
Uninstall
Deactivate and delete the plugin from Plugins. Historical order and transaction data stays with the orders.
Updated 11 days ago