

Configuration
The Buckaroo app has one action, Create Payment Link With Buckaroo, which creates a PayLink. Everything you configure lives on that action, so a Zap that creates PayLinks is configured entirely inside the Zap. There are no Buckaroo settings in Zapier outside it.
Action fields
| Field | Required | What it does |
|---|---|---|
| Test mode | Yes | True creates the link against the Buckaroo test environment, False against live. |
| Amount currency | Yes | The currency of the payment, chosen from a list. |
| Amount value | Yes | The amount to charge. Zero or higher, with a full stop as the decimal separator. |
| Payment Methods | Yes | The methods the customer may choose from, added one at a time from a list. |
| Order | Yes | Your own order reference. |
| Invoice | Yes | Your own invoice reference. |
| Description | No | Free text shown to the customer during payment. |
| Return URL | Yes | Where the customer lands after paying. |
| Push URL | Yes | Where Buckaroo sends the payment result. |
Most fields accept values mapped from earlier steps in your Zap, so an amount can come from a form field and an order reference from a spreadsheet column.
Test mode is set to
Trueby default. Left that way, the Zap creates links that cannot take real money. Set it toFalsebefore you rely on a Zap for real payments.
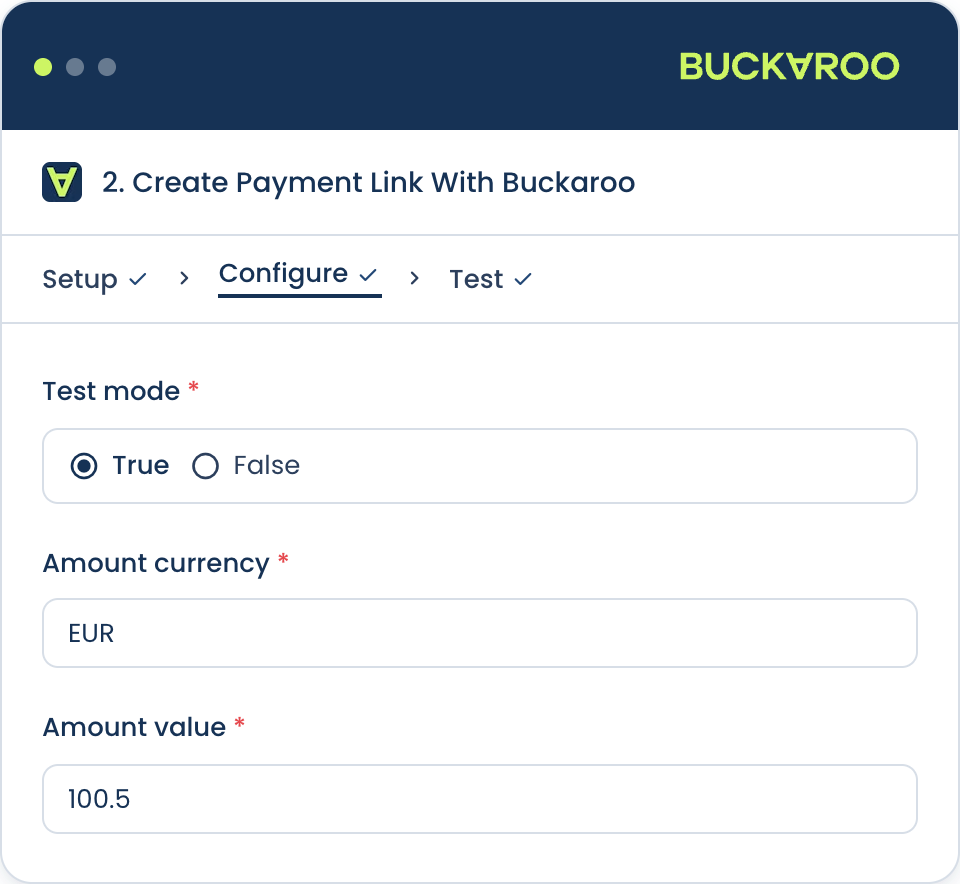
Amount and currency
Amount currency is a dropdown, so you can only pick a currency the app offers. A payment method that does not support the currency you choose will not appear on the checkout page even if you allowed it, so check both together when a method seems to be missing. See Payment methods.
Amount value takes a plain number using a full stop as the decimal separator, such as 100.5. Thousand separators, comma decimals and currency symbols are rejected. This matters when the amount is mapped from another app, because a value displayed as 1.250,00 elsewhere is not a plain number underneath and needs a Zapier formatting step first.
Order and invoice references
Both fields are your own references, and both come back in the push message, which is how you match a result to whatever created it. Map them from the trigger step rather than typing a fixed value, because a fixed value gives every payment the same reference and leaves you unable to tell results apart.
Return URL
The Return URL is where the customer's browser goes once they finish paying. It should be a page on your own site that confirms the payment request was received.
Do not treat a customer arriving at the Return URL as proof of payment. Customers close browsers, lose connections and abandon payments halfway. The Push URL is what tells you the actual result. See Redirects.
Push URL
Buckaroo sends the payment result to the Push URL as a push message. This is the only reliable signal that a payment succeeded, failed or was cancelled.
You supply this endpoint yourself. Buckaroo does not host one for you, and the field has no default, so there is nowhere for the result to go until you provide somewhere. It must be reachable from the internet and must accept a POST request.
The Push URL on the action overrides whatever push URL your store has configured in Plaza, so these transactions report to the Zap and not to your existing integration. Nothing is sent twice.
The message is Buckaroo's standard push, the same format used for any other transaction, so there is nothing PayLink-specific to handle. It includes the Order and Invoice values you set on the action, which is what lets you match a result back to whatever created it. See Push messages for the full format and parameters.
Two ways to get one:
- A Zapier Webhooks catch hook. No server needed, and it keeps everything inside Zapier. This is the route to take if you are using this app because you do not want to write code. It needs a Zapier plan that includes Webhooks.
- An endpoint on your own site or server. More work, but you are not tied to Zapier for handling results, and you can do things Zapier cannot.
Treat a catch hook URL as a credential. Anyone who has it can post fake payment results to your Zap, so do not paste it into a public thread or a shared document.
Reacting to payment status
Because the app has no triggers, a Zap cannot start when a payment completes. To act on a result, use two Zaps:
- Zap one creates the payment link and delivers it to your customer.
- Zap two starts from a Zapier Webhooks trigger, using its catch hook URL as the Push URL in Zap one. It then receives the payment result and does whatever you need, such as marking a row as paid or notifying your team.
Zapier's Webhooks trigger is available on their paid plans. Check what your Zapier plan includes before you build this.
Always check the status in the incoming push message before treating a payment as complete. A push message is also sent for failed and cancelled payments, so acting on any push message without reading its status will mark unpaid orders as paid.
Updated about 1 month ago